F3X | Building Tools
What is F3X?
F3X, also known as btools, is a tool that allows the user to create, edit and delete parts in-game which is accessible to Server Hosts by simply running the command :btools.
BTools gives users 14 different options to do many things, but we're only going to go through the basic premise of some.
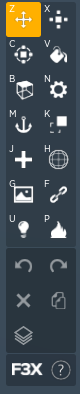
How do I use it?
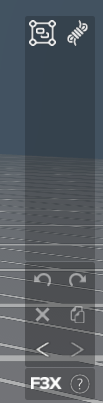
When clicking on a tool, it displays another UI to the left of the screen with the name of the tool.
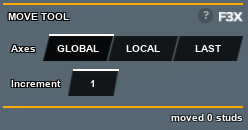
Move Tool
The move tool allows you to move parts.
Global, Local, and Last are different moving options with their own purposes. For example, if a part is rotated and the Global option is selected, it'll move the part along the game's axis, making some adjustments difficult. Switch it to Local or Last and it will make those adjustments much easier.
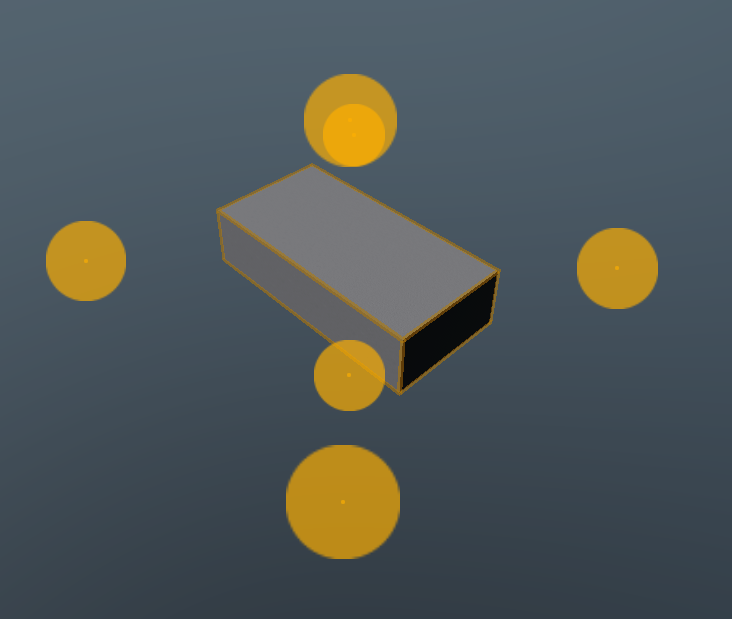
Global
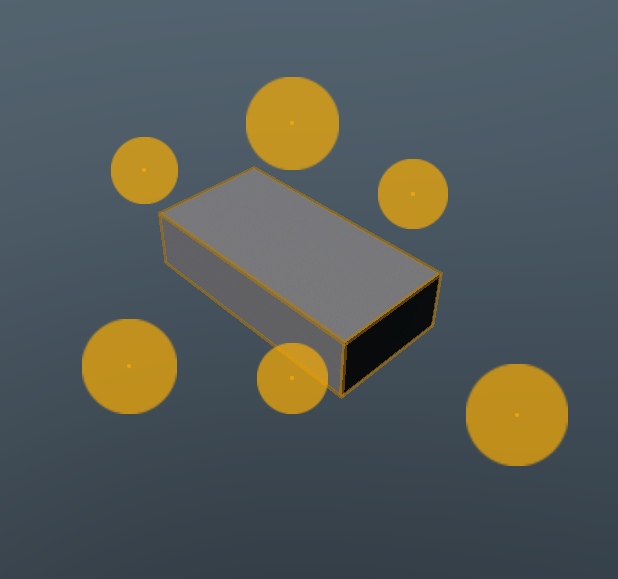
Local and Last
The Move Tool is one of the most used tools, next to the Resize Tool, when using F3X, you'll be making lots of micro adjustments which can be done by changing the increment and you can see how many studs a part or parts have moved.
Resize Tool
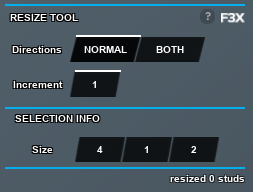
Almost the same premise as the Move Tool, but instead you change the width, length, and height of a part. Normal allows for single sided adjustments, while Both does both sides of the part.
Rotate Tool
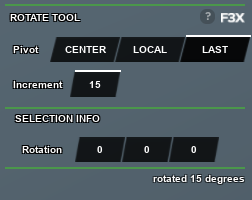
The Rotate Tool has similar options to the Move Tool but works differently. It's best to not use those options and to just stay on Center since it works best. Keep in mind, because SCP:RP sometimes has trouble saving things, rotated parts might not save correctly.
These 3 tools will be the most used when building something. The other tools are to assist in your creative direction, but some of them are helpful such as the Paint Tool, Texture Tool, Material Tool, Mesh Tool and Lighting Tool.
Group/Rope Tool
The Group Tool allows you to create custom presets that can be saved and loaded later using the :load command. This is particularly useful for creating reusable structures or setups that can be quickly deployed in your builds.
Let's go over some things you can do to help enhance your map.
What to know
When building a map, always keep in mind the data part limit. With every SCP:RP Update nowadays, they seem to be increasing it, helping builders create more detailed maps. Back then, the usage of SCP:RP props was frowned upon due to how much space it could quickly take up, but now it's much less heavy on the storage and is a great alternative if you do not have meshes. Same goes with doors and gates, they do take up a decent amount of space.
Meshes are a great way to replace SCP:RP props in order to save up on space, sometimes they're even more detailed. If you have a list of meshes, use them, it's helpful, but if you don't the SCP:RP. Factions Hub has provided a document that was given by a member that can be found here. Meshes and Mesh packs can also be found in Studio and if you have the money to burn, there are individuals who create and sell detailed meshes.
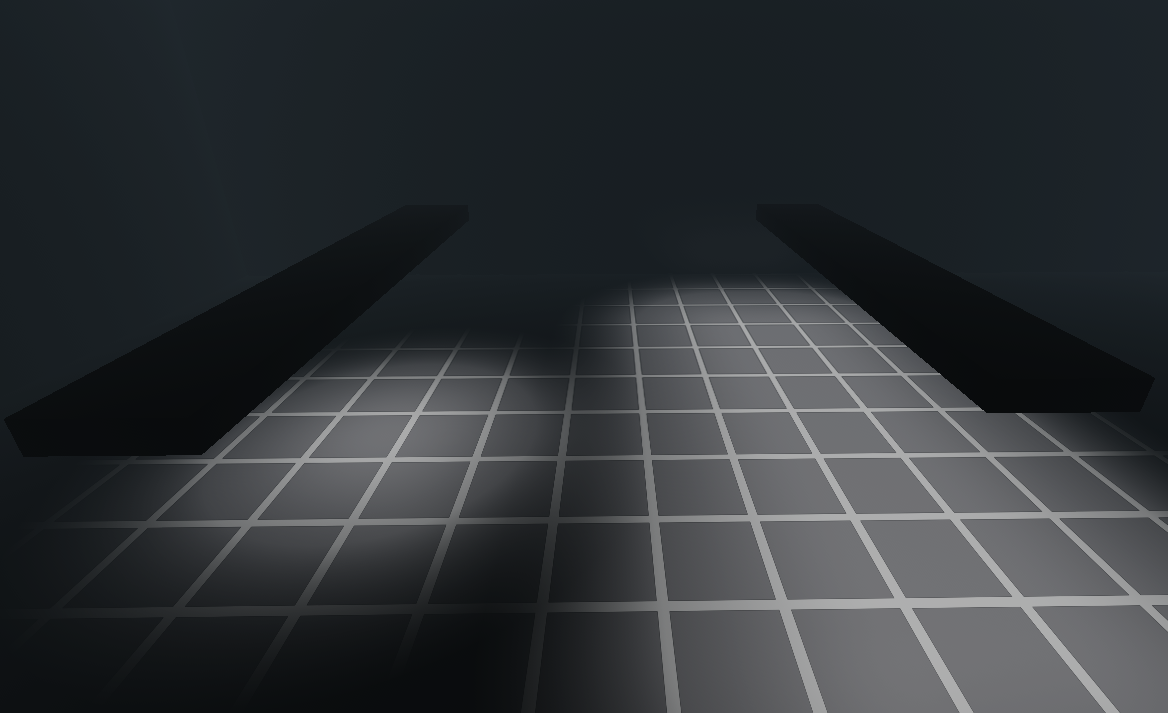
Lighting
Lighting is one of the most important aspects in a game and really gives off the quality in a map.

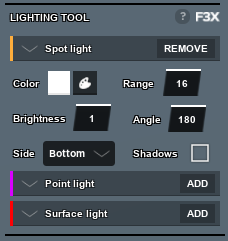
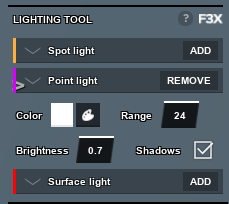
It gives you 3 separate options: Spot Light, Point Light and Surface Light.
- Spot Lights: Create a singular spot on a side of the part that you choose (In this picture it's selected as bottom.)
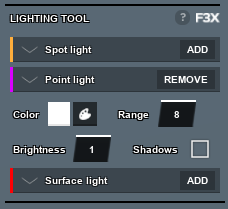
- Point Lights: Are emitted all around the part and are only limited by the range.
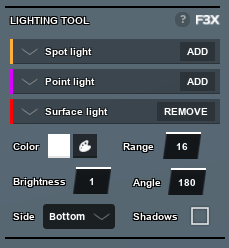
- Surface Lights: Emits light from one entire side of the part and expands with it.
Each lighting option has its own Menu (Spot Light, Point Light, Surface Light)
Lighting Examples
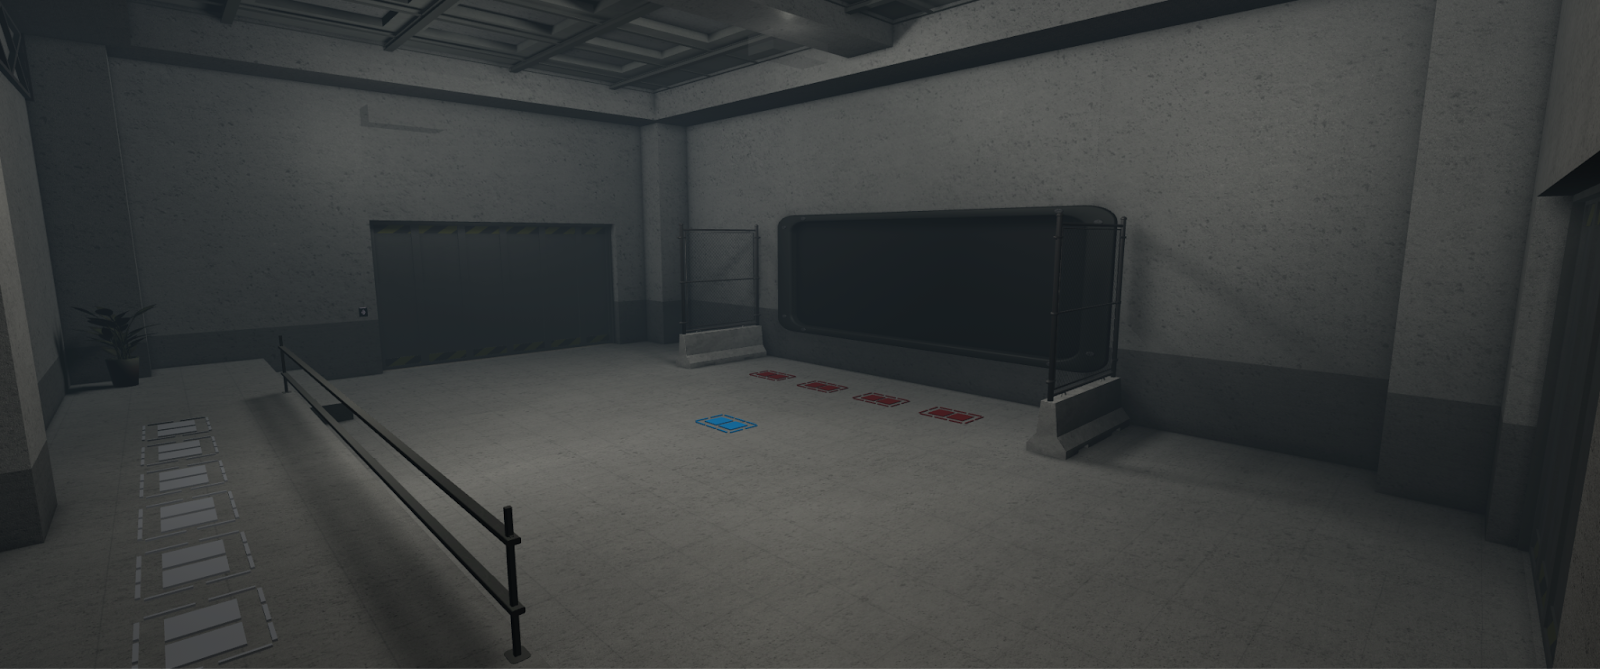
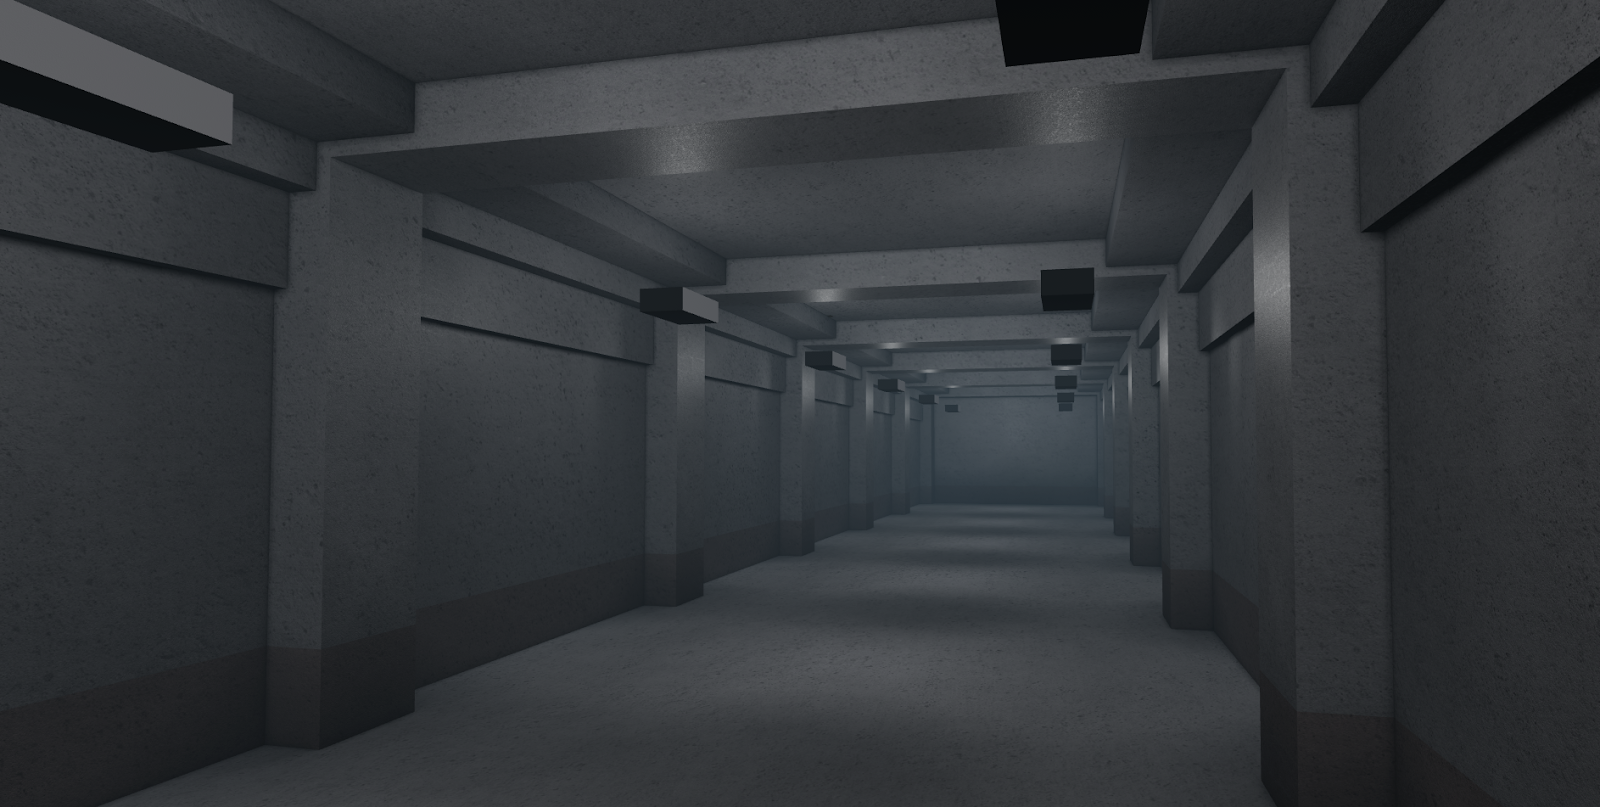
Now to the fun part, how do you create good lighting? Some examples of Good and Bad lighting are below:
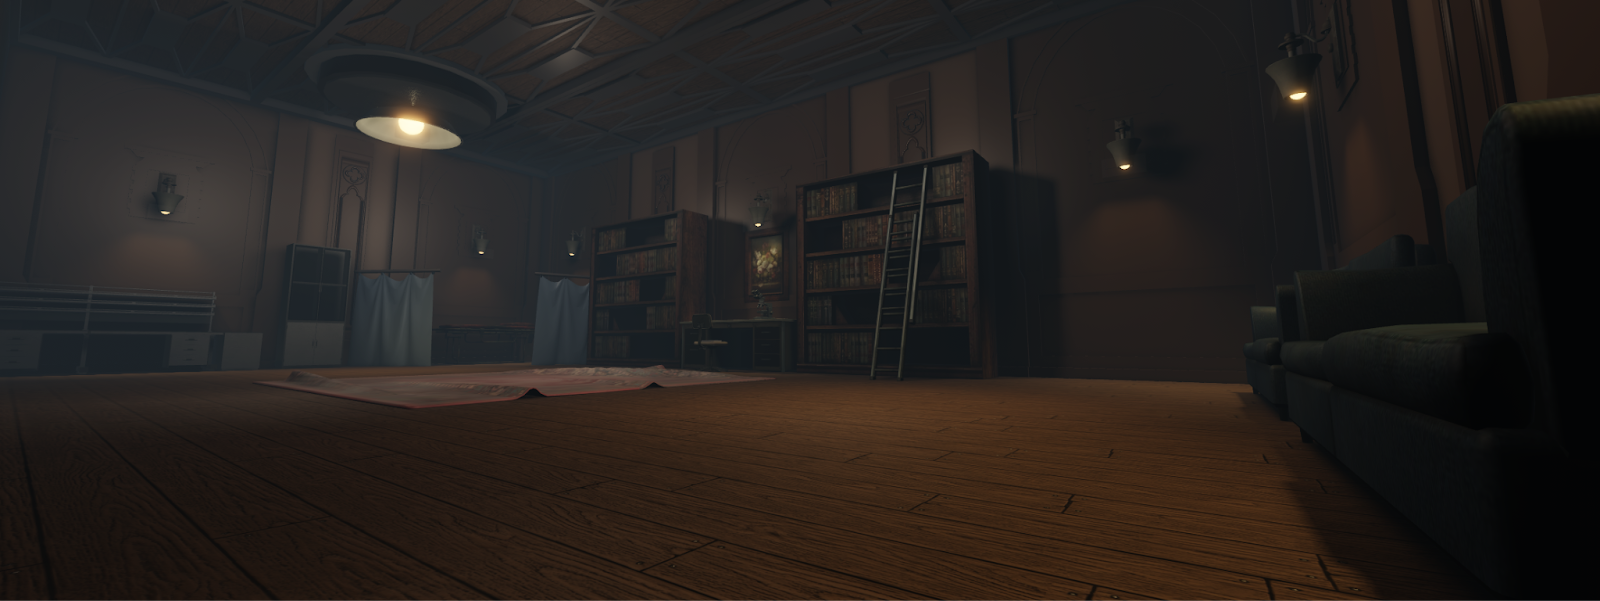
The lighting can be made better through the use of SCP:RP's atmosphere, which can be changed by server hosts in the settings tab.
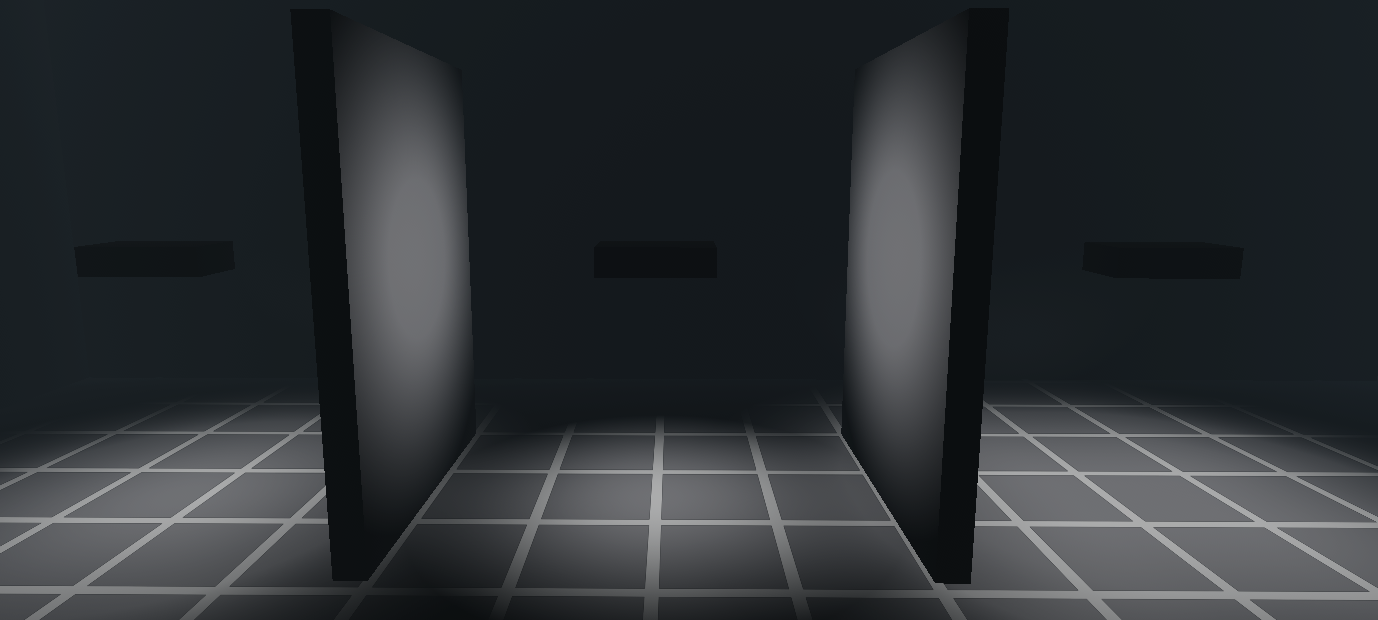
To get good lighting, it's always best to enable the shadows feature and to use low ranges instead of the max range for smaller builds. Using multiple parts could help sometimes too. You don't want it to be super bright and annoying for the players as well. It's hard to explain so it's best if you try it yourself. Simply create a hallway as a base and mess around with the lighting.
Lighting Settings Example
In the example shown below, you can see there are 2 parts used for the lighting. In some cases, it enhances the build quality and lighting, but in others it clutters up the map's storage.
You can still achieve the same effect with one part simply by changing the settings slightly.
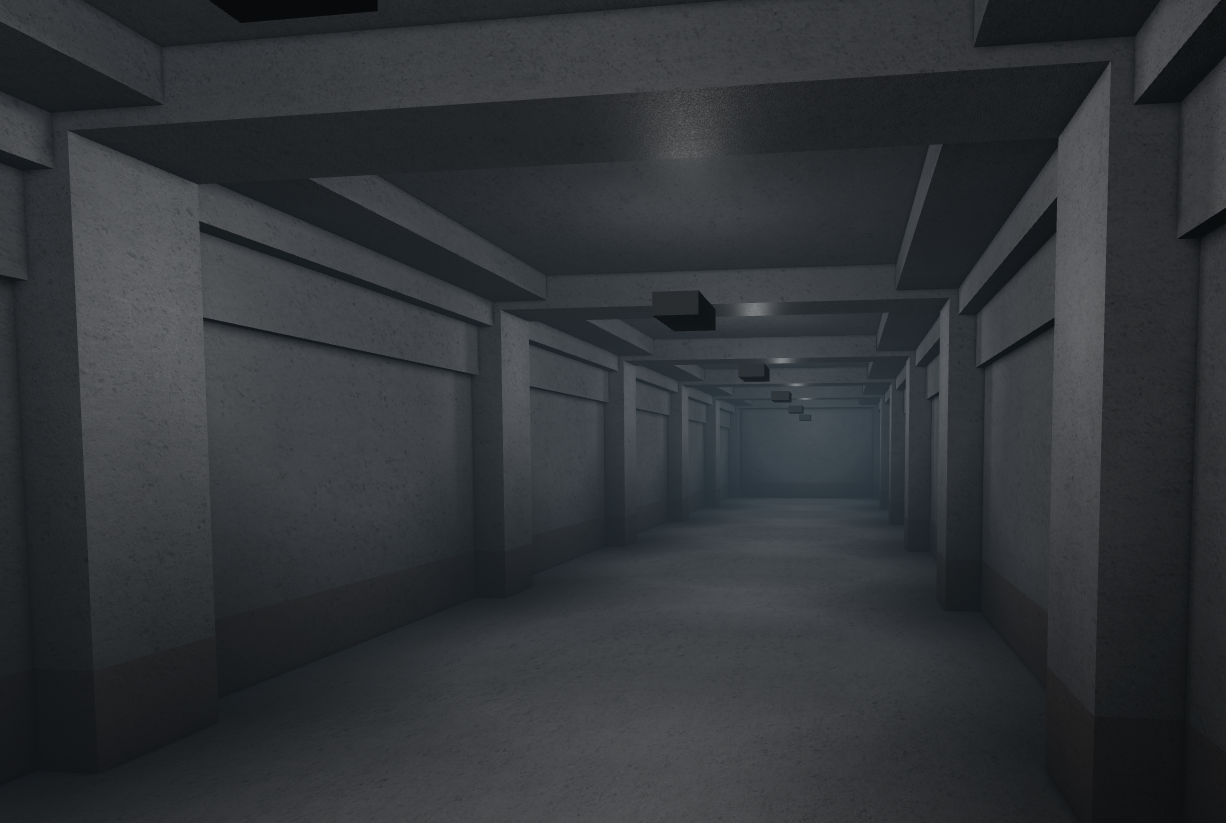
It is preferred to use just one part since it takes up less of the space on the map storage. It's always best to mess with the light settings yourself, see what fits, this includes the color, range, and brightness.
Props and Details
Props and details are what really makes your maps pop out. Proper usage makes the place feel less empty and it never hurts to use a couple extra parts for details. Using the same example from the previous section, below you can see how props can affect the feel of the map you're creating. It's always best to have a detailed roof and walls so that the props can boost up its quality.
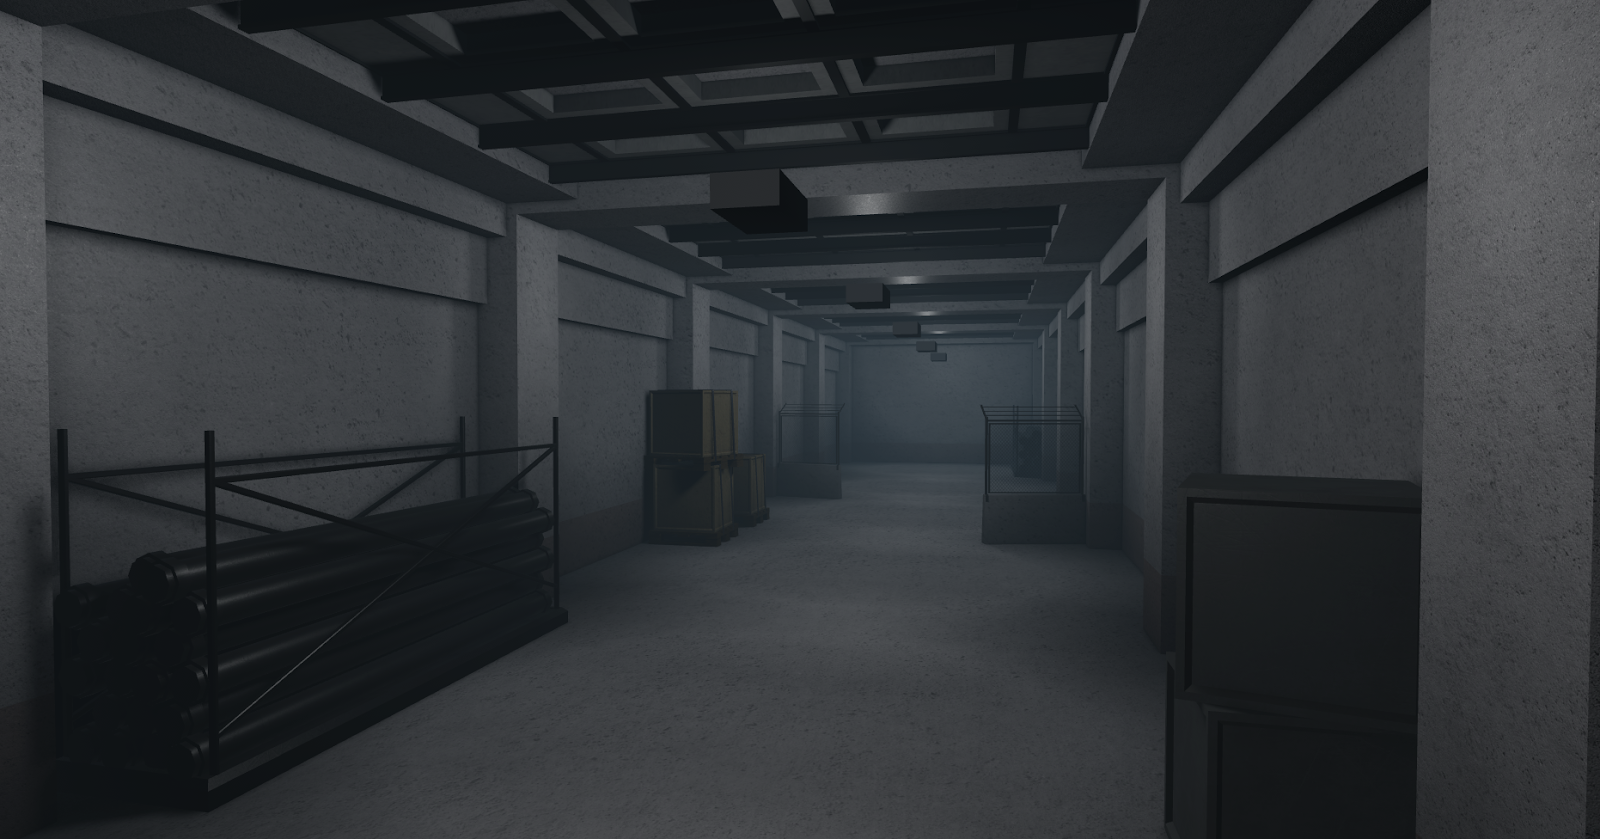
Meshes shine here, since it takes up only one part, you can use extra parts for other details. Always think outside the box and go loose with the builds you create, people might like it!
Attaching Parts
Attaching parts to someone can be a very good skill to have as a builder since you can attach SCP meshes to people such as actors. It's actually pretty simple to do. All you have to do is grab a part, turning off the collision and scaling it the player's torso. From there, you have to use the Surface Tool and set all to Glue.
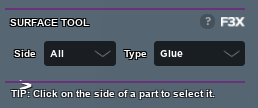
From there it's trial and error, using the 0.1 increment with Resize Tool, keep resizing the part until the player model twitches, that's when you know the part is attached, from there you can Unanchor the part. You can use this to attach particles or meshes to people.
Welding Parts to a Rig
Welding parts to a rig is a useful technique for creating custom setups that can be attached to player models. Follow these steps to weld parts to a rig:
- Load a Rig: Use the command
:load rigto spawn a rig in your workspace. - Use the Weld Tool: Select the weld tool from the F3X menu. Click on the part you want to weld, then click on the rig to attach it. Repeat this process for all parts you want to weld to the rig.
- Customize the Rig Name: Use the material tool on the rig to customize its name. This name will be used in the next step.
- Morph to the Rig: Use the command
:morph me rig_name, replacingrig_namewith the name you set in the previous step. This will attach the welded parts to your player model.
By following these steps, you can create custom setups that can be easily reused or shared with others.
You can also load a rig (:load rig), and then weld parts to it. You can use :morph me rig_name_here to recieve these parts.
Extra Tips
This section will cover simple things that don't need an entire section. The Texture Tool, for example, helps with posters, banners, and advertisements for the server but it can also texture the floor, the wall, or whatever part you have in mind. Some meshes work better if a texture is used on the Texture Tool instead of the Mesh Tool.
The Mesh Tool is very simple, simply have your Mesh IDs ready to insert. In order to use it you need to have a part selected and click on Add Mesh. Once you've done that, a menu will appear and you need to change the type to File so that you can use your mesh ID. Best if you mess around with it for a while. You can even create your own meshes in Roblox Studio, you can find a video here. (It's a little cringey but it gets the point across.)
Custom doors and elevators are also nice to have, there are two videos made by a member named Breezy that are extremely helpful, you can watch them here.
A funny thing you can do is pretty much enable No Clip in-game by selecting and scaling yourself. In order to select yourself, all you have to do is press Shift + K. You watch a short video here to see what I mean. Also, no you're not invisible on other players' screens, it's client sided.